To procure Q-Sensei Logs from the AWS Marketplace you should have an AWS account and an AWS Identity and Management (IAM) user, who can log in using their username and password.
Also, the IAM user should have the correct permission to subscribe to Q-Sensei Logs product listing and manage the listing. Below, we will give a step-by-step guide of how to setup your Q-Sensei Logs account from scratch.
Step 1: Create user groups for AWS Marketplace access and add IAM users to the groups
To create groups and assign AWS Marketplace permissions
- Open the IAM console at https://console.aws.amazon.com/iam/
- In the left navigation pane, choose Groups and then choose Create New Group.
- For Group Name, enter a name for the group, such as MarketplaceReadOnly or MarketplaceFullAccess, and choose Next Step.
- On the Attach Policy page, select the box next to one of the following policies:
- To allow permissions only to view subscriptions (but not change them), choose AWS MarketplaceRead-only
- To allow permissions to subscribe and unsubscribe, choose AWSMarketplaceManageSubscriptions
- To allow complete control of your subscriptions, choose AWSMarketplaceFullAccess
- Choose Next Step and then choose Create Group.
To add users to the groups you just created:
- In the list of groups, choose the name of the group
- Under Users, choose Add Users to group
- Select the users to add to the group and then choose Add Users.
Step 2: Sign in as an IAM user
Sign in using the IAM user, who has the permission to subscribe and unsubscribe i.e. AWSMarketplaceManageSubscriptions policy is attached to the respective user group.
AWS Sign in URL has the following format:

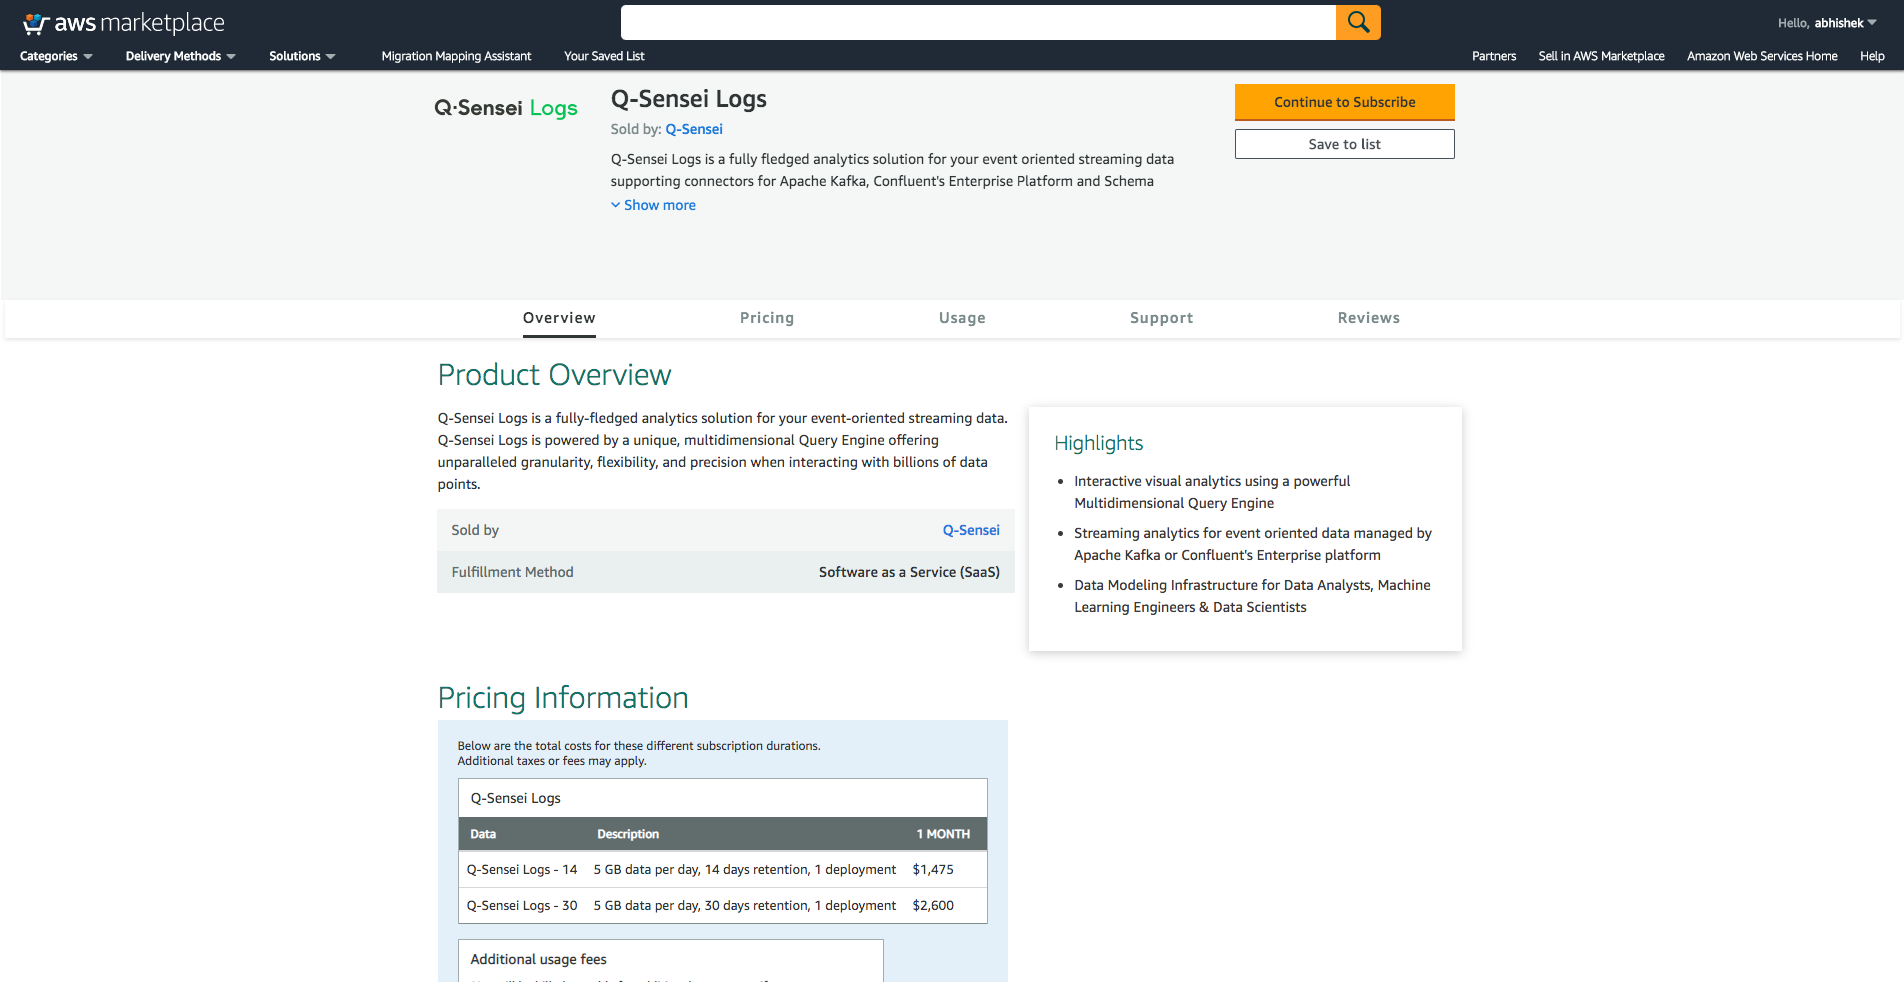
Step 3: Browse the Q-Sensei Logs product listing
Visit the Q-Sensei Logs product page on AWS marketplace. Click on Continue to Subscribe button at the top right corner.
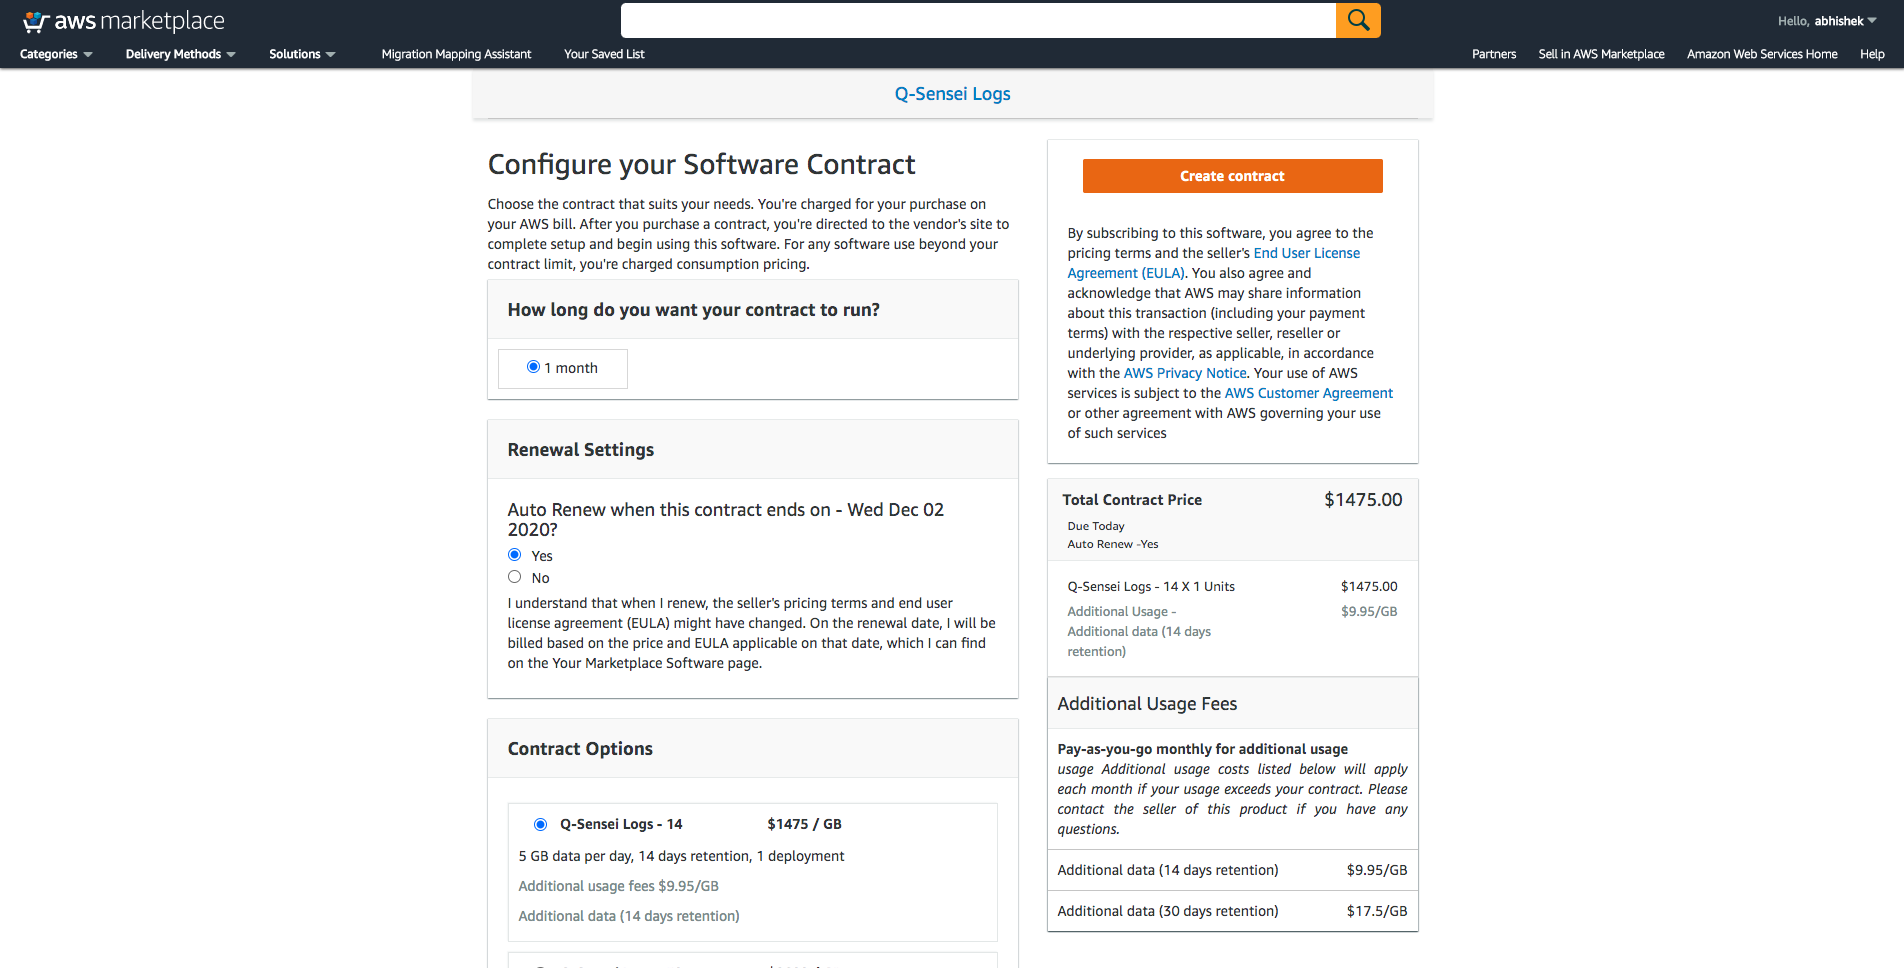
Step 4: Choose your Contract
Choose your contract duration, auto-renewal settings and click on Create contract.
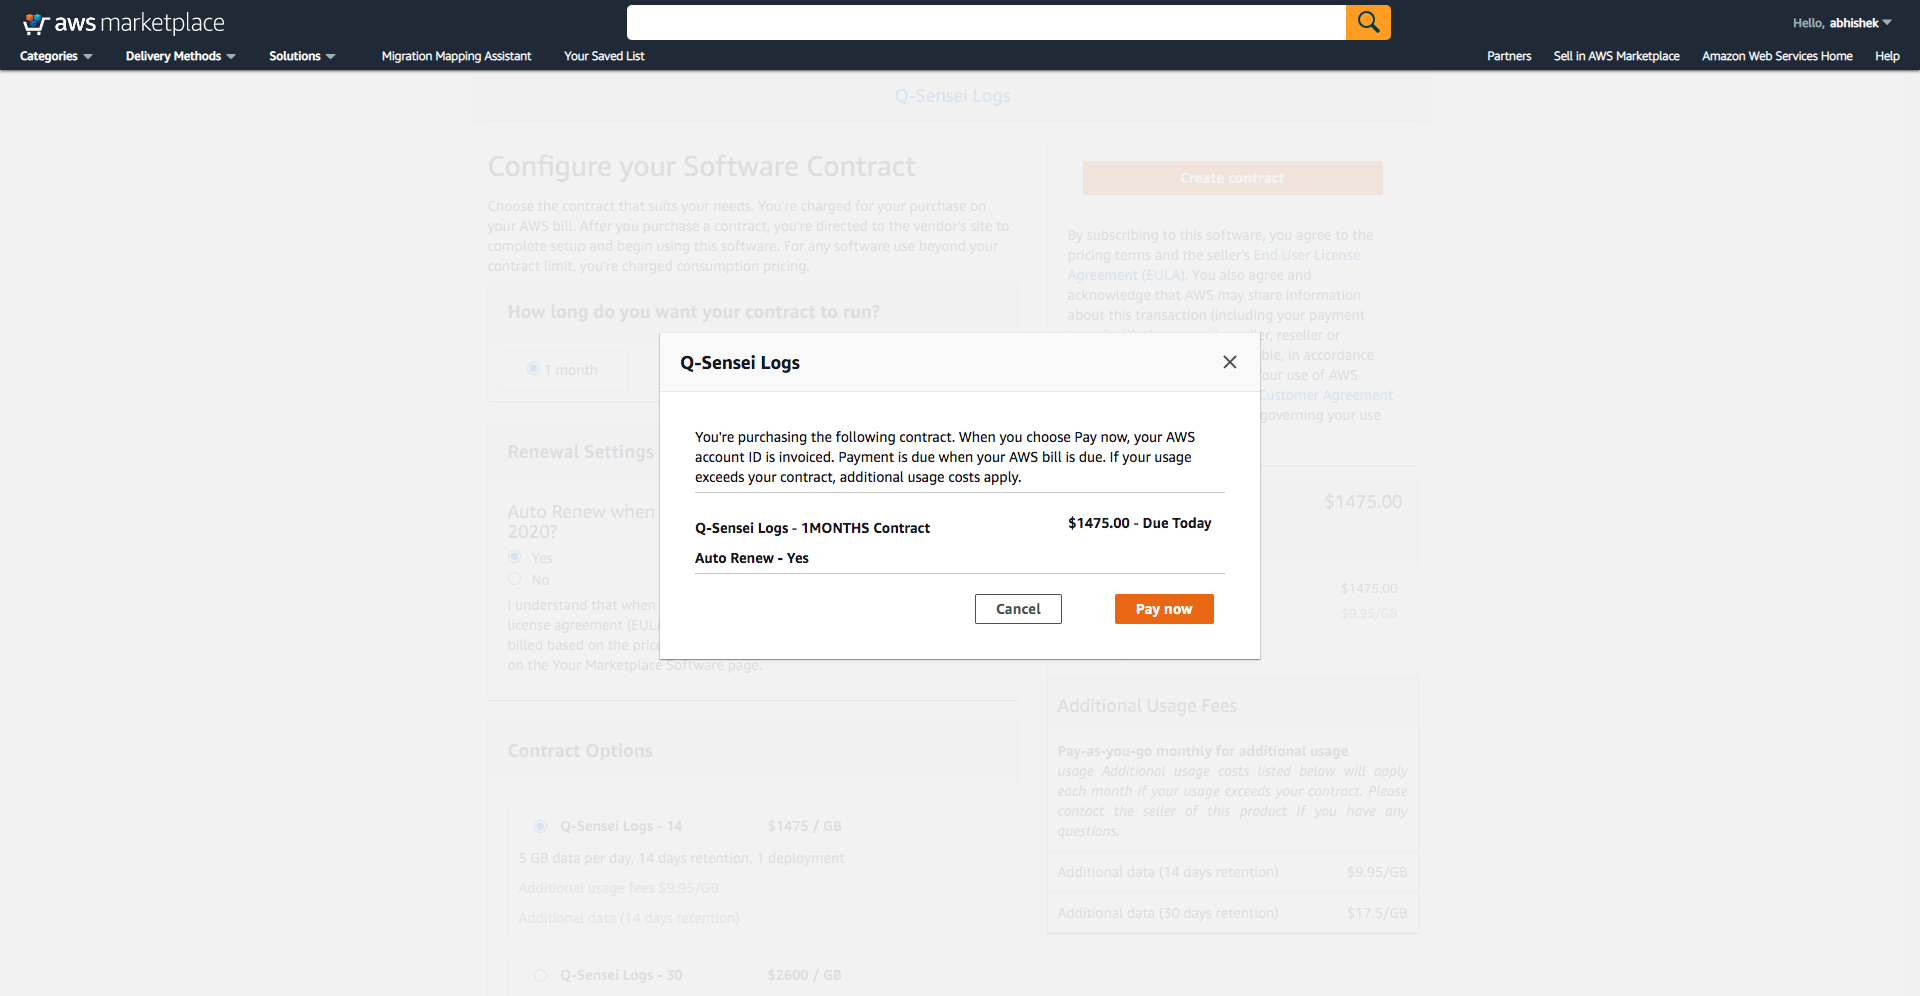
Verify the contract details and click on Pay now.
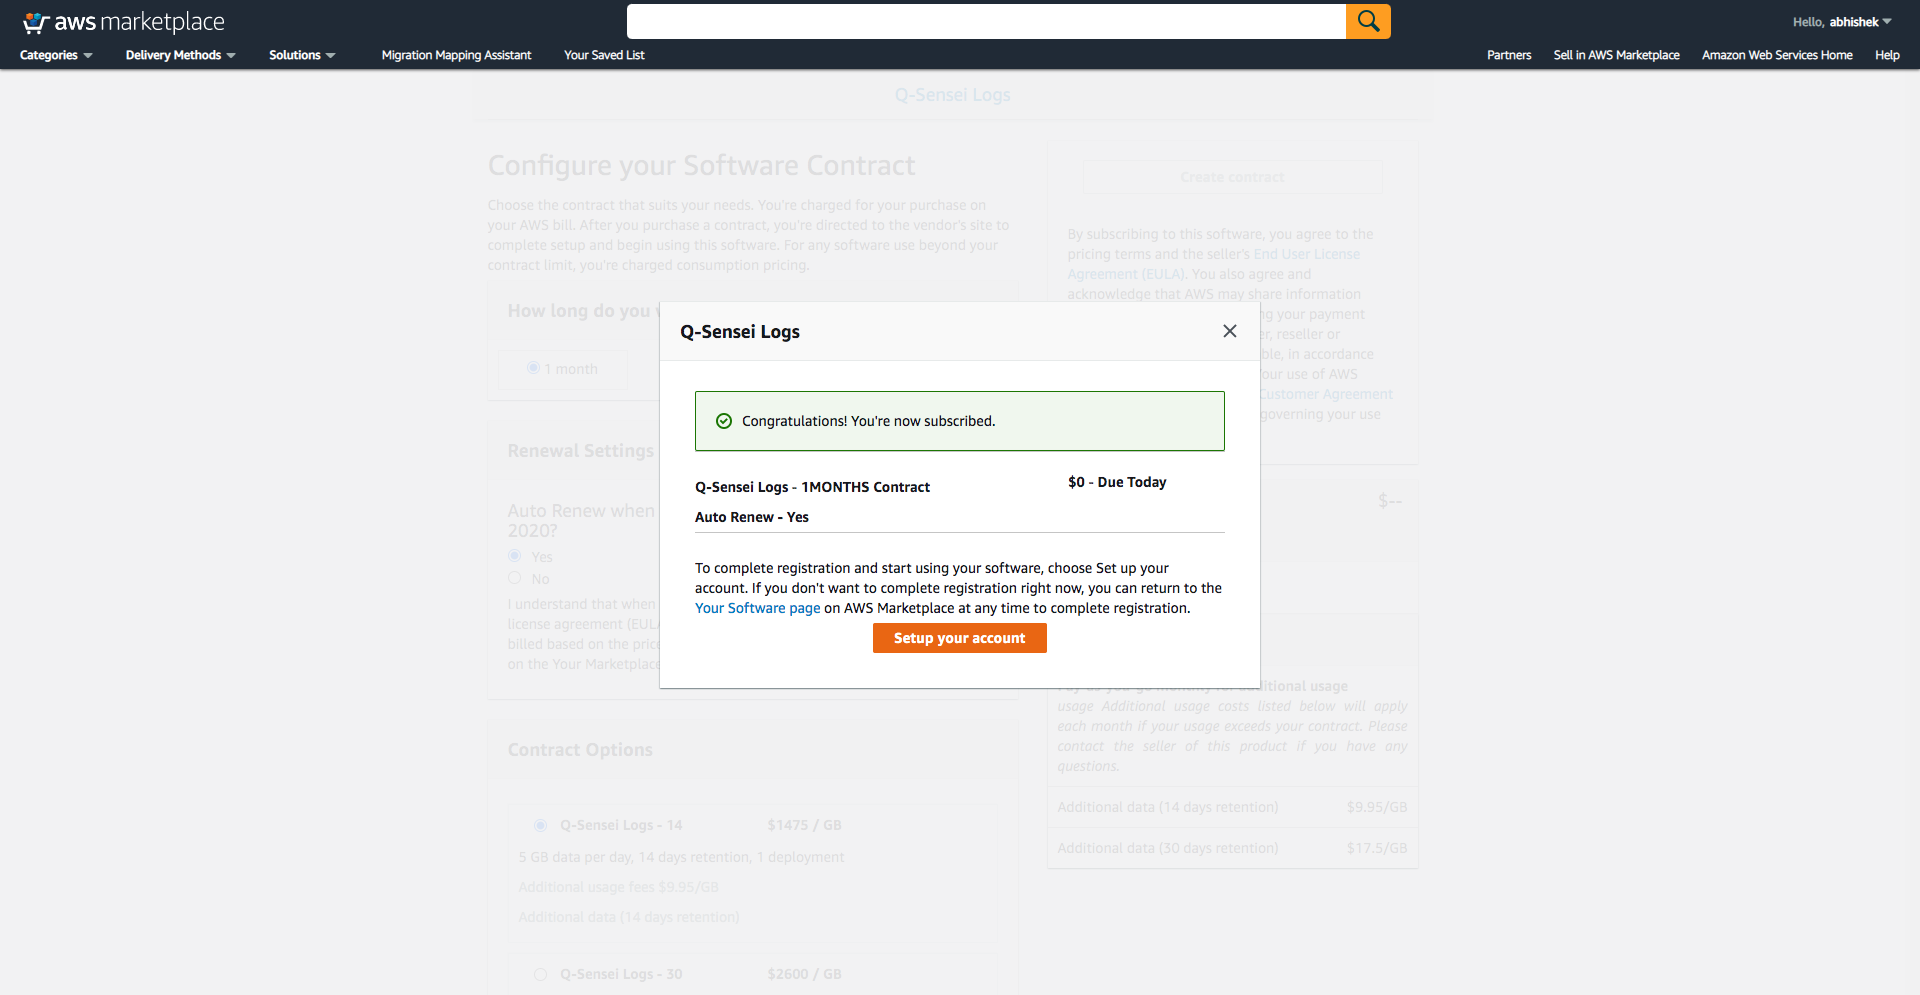
Next, click on Setup your account.
Step 5: Set up your Q-Sensei Logs account
You will be redirected to the Q-Sensei Logs registration page as shown below:

While filling in the information, two fields that you should be careful about are the Custom Domain Name and the AWS region. Once you click on the Create Free Account button, you cannot change the information anymore.
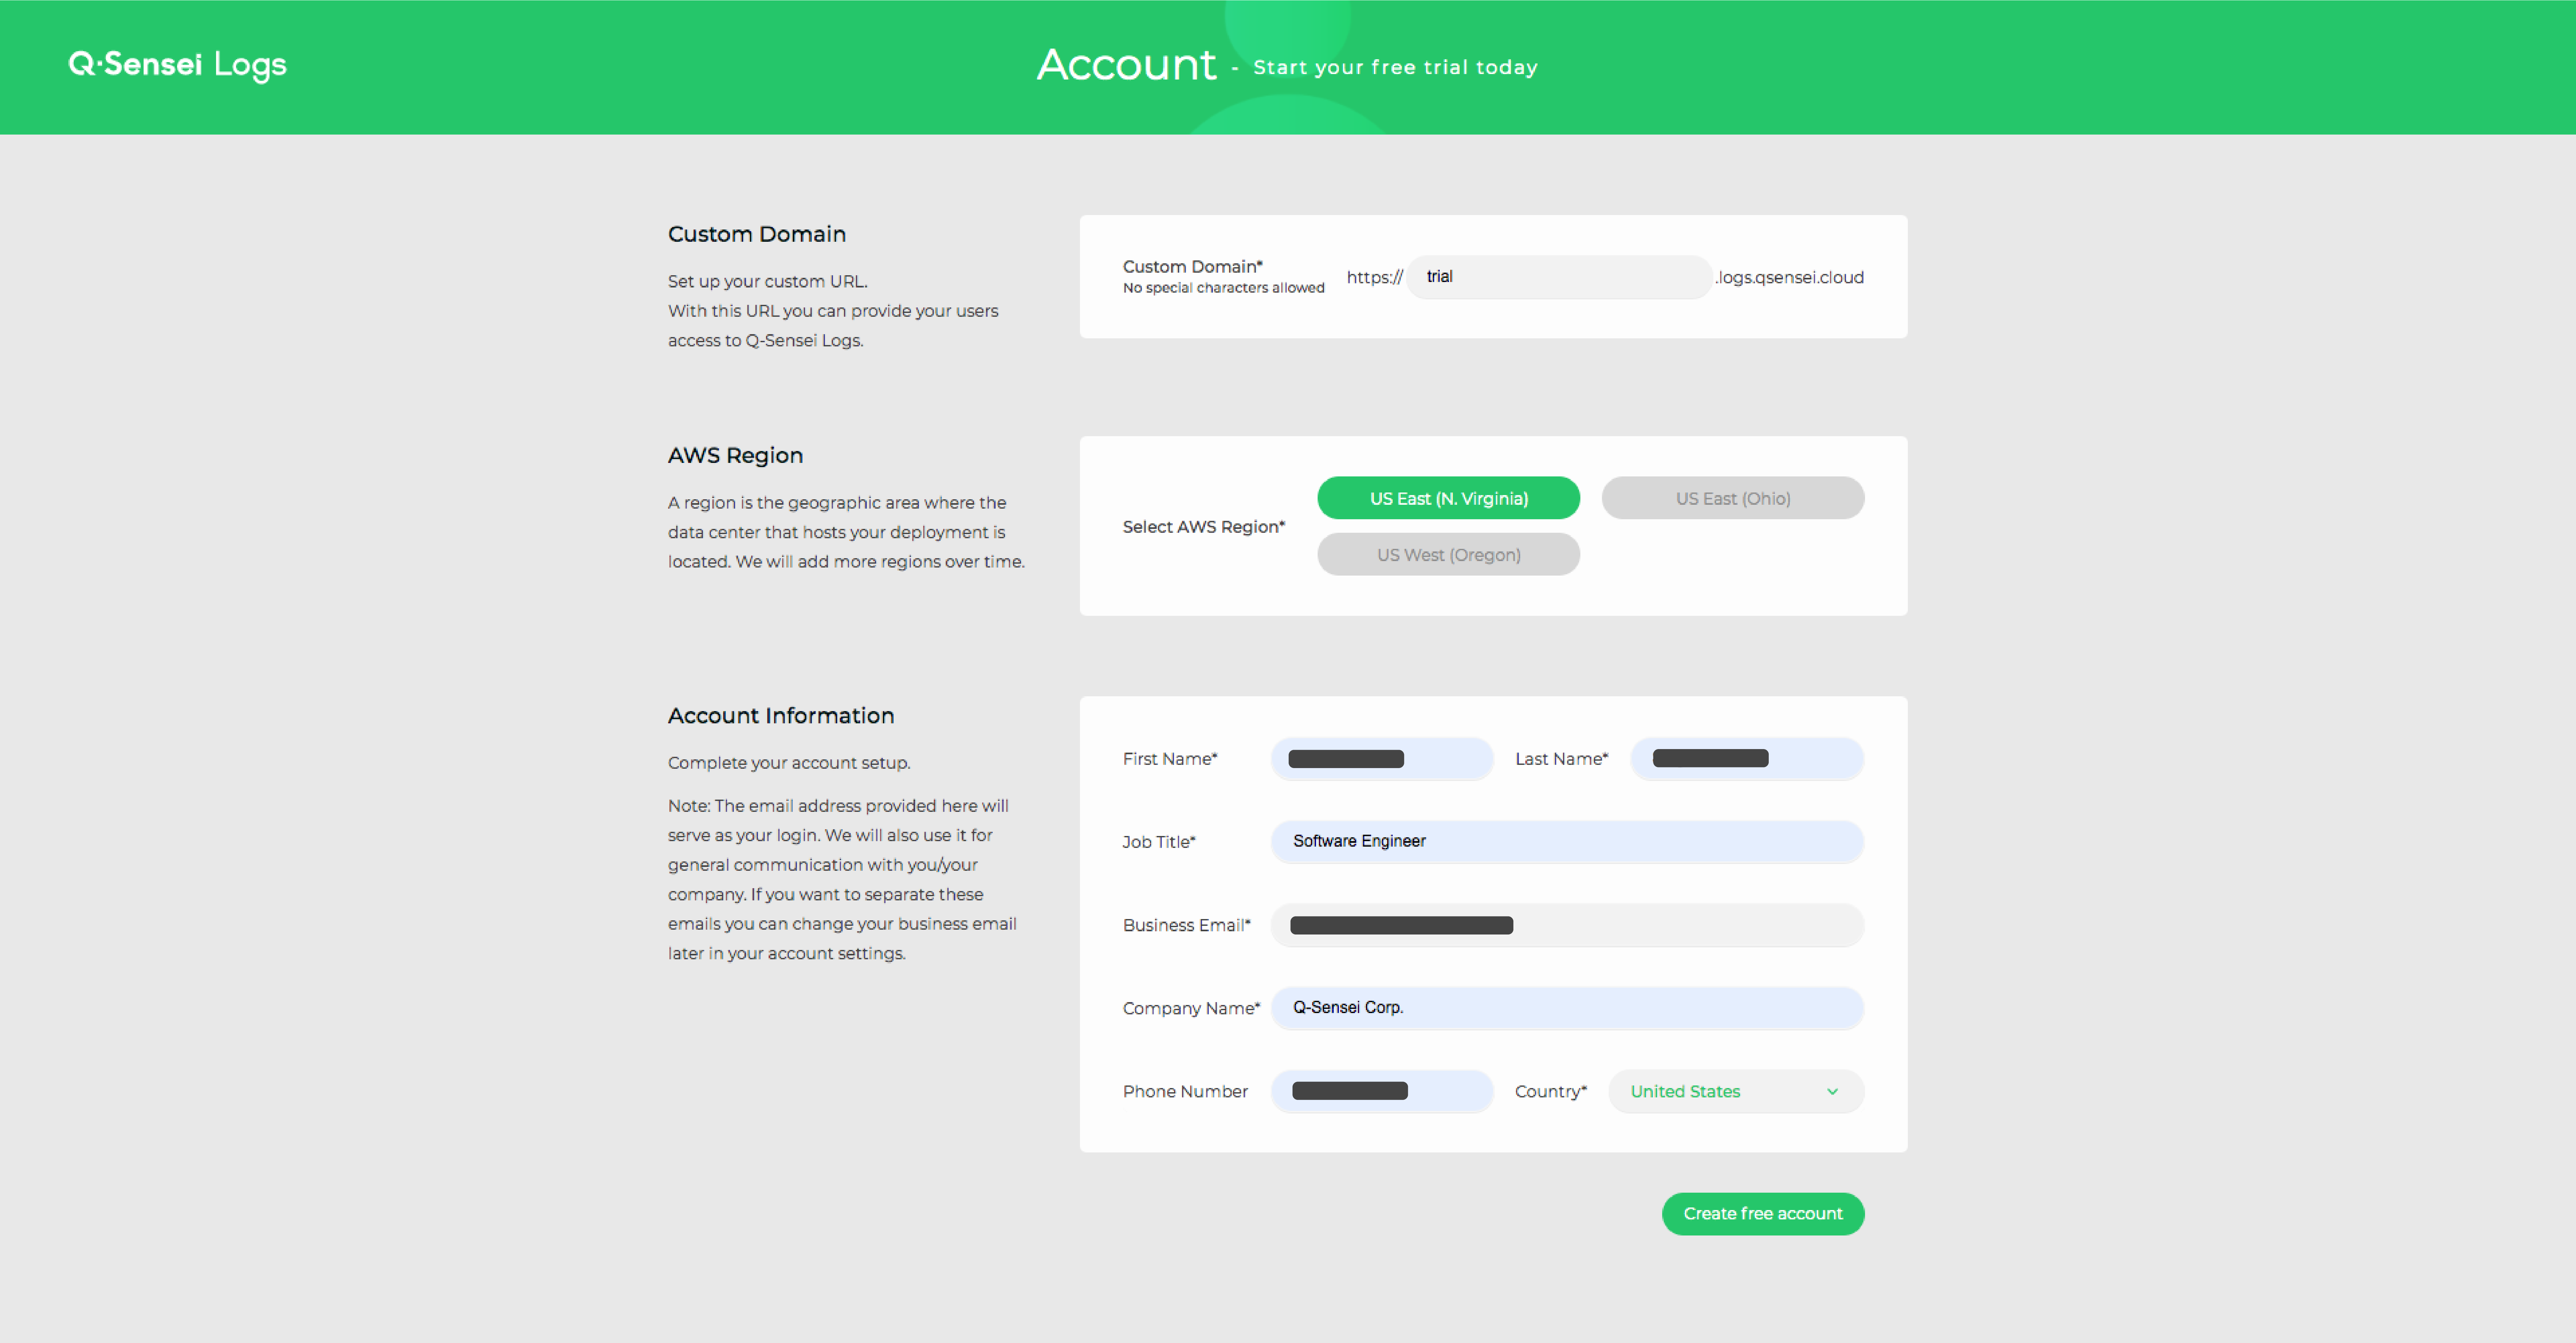
After you have filled in the details, verify the information and click on Create Free Account. The email address provided by you will be used to create a user with the role SuperAdmin. To learn more about user roles, check the user roles section in our product documentation.
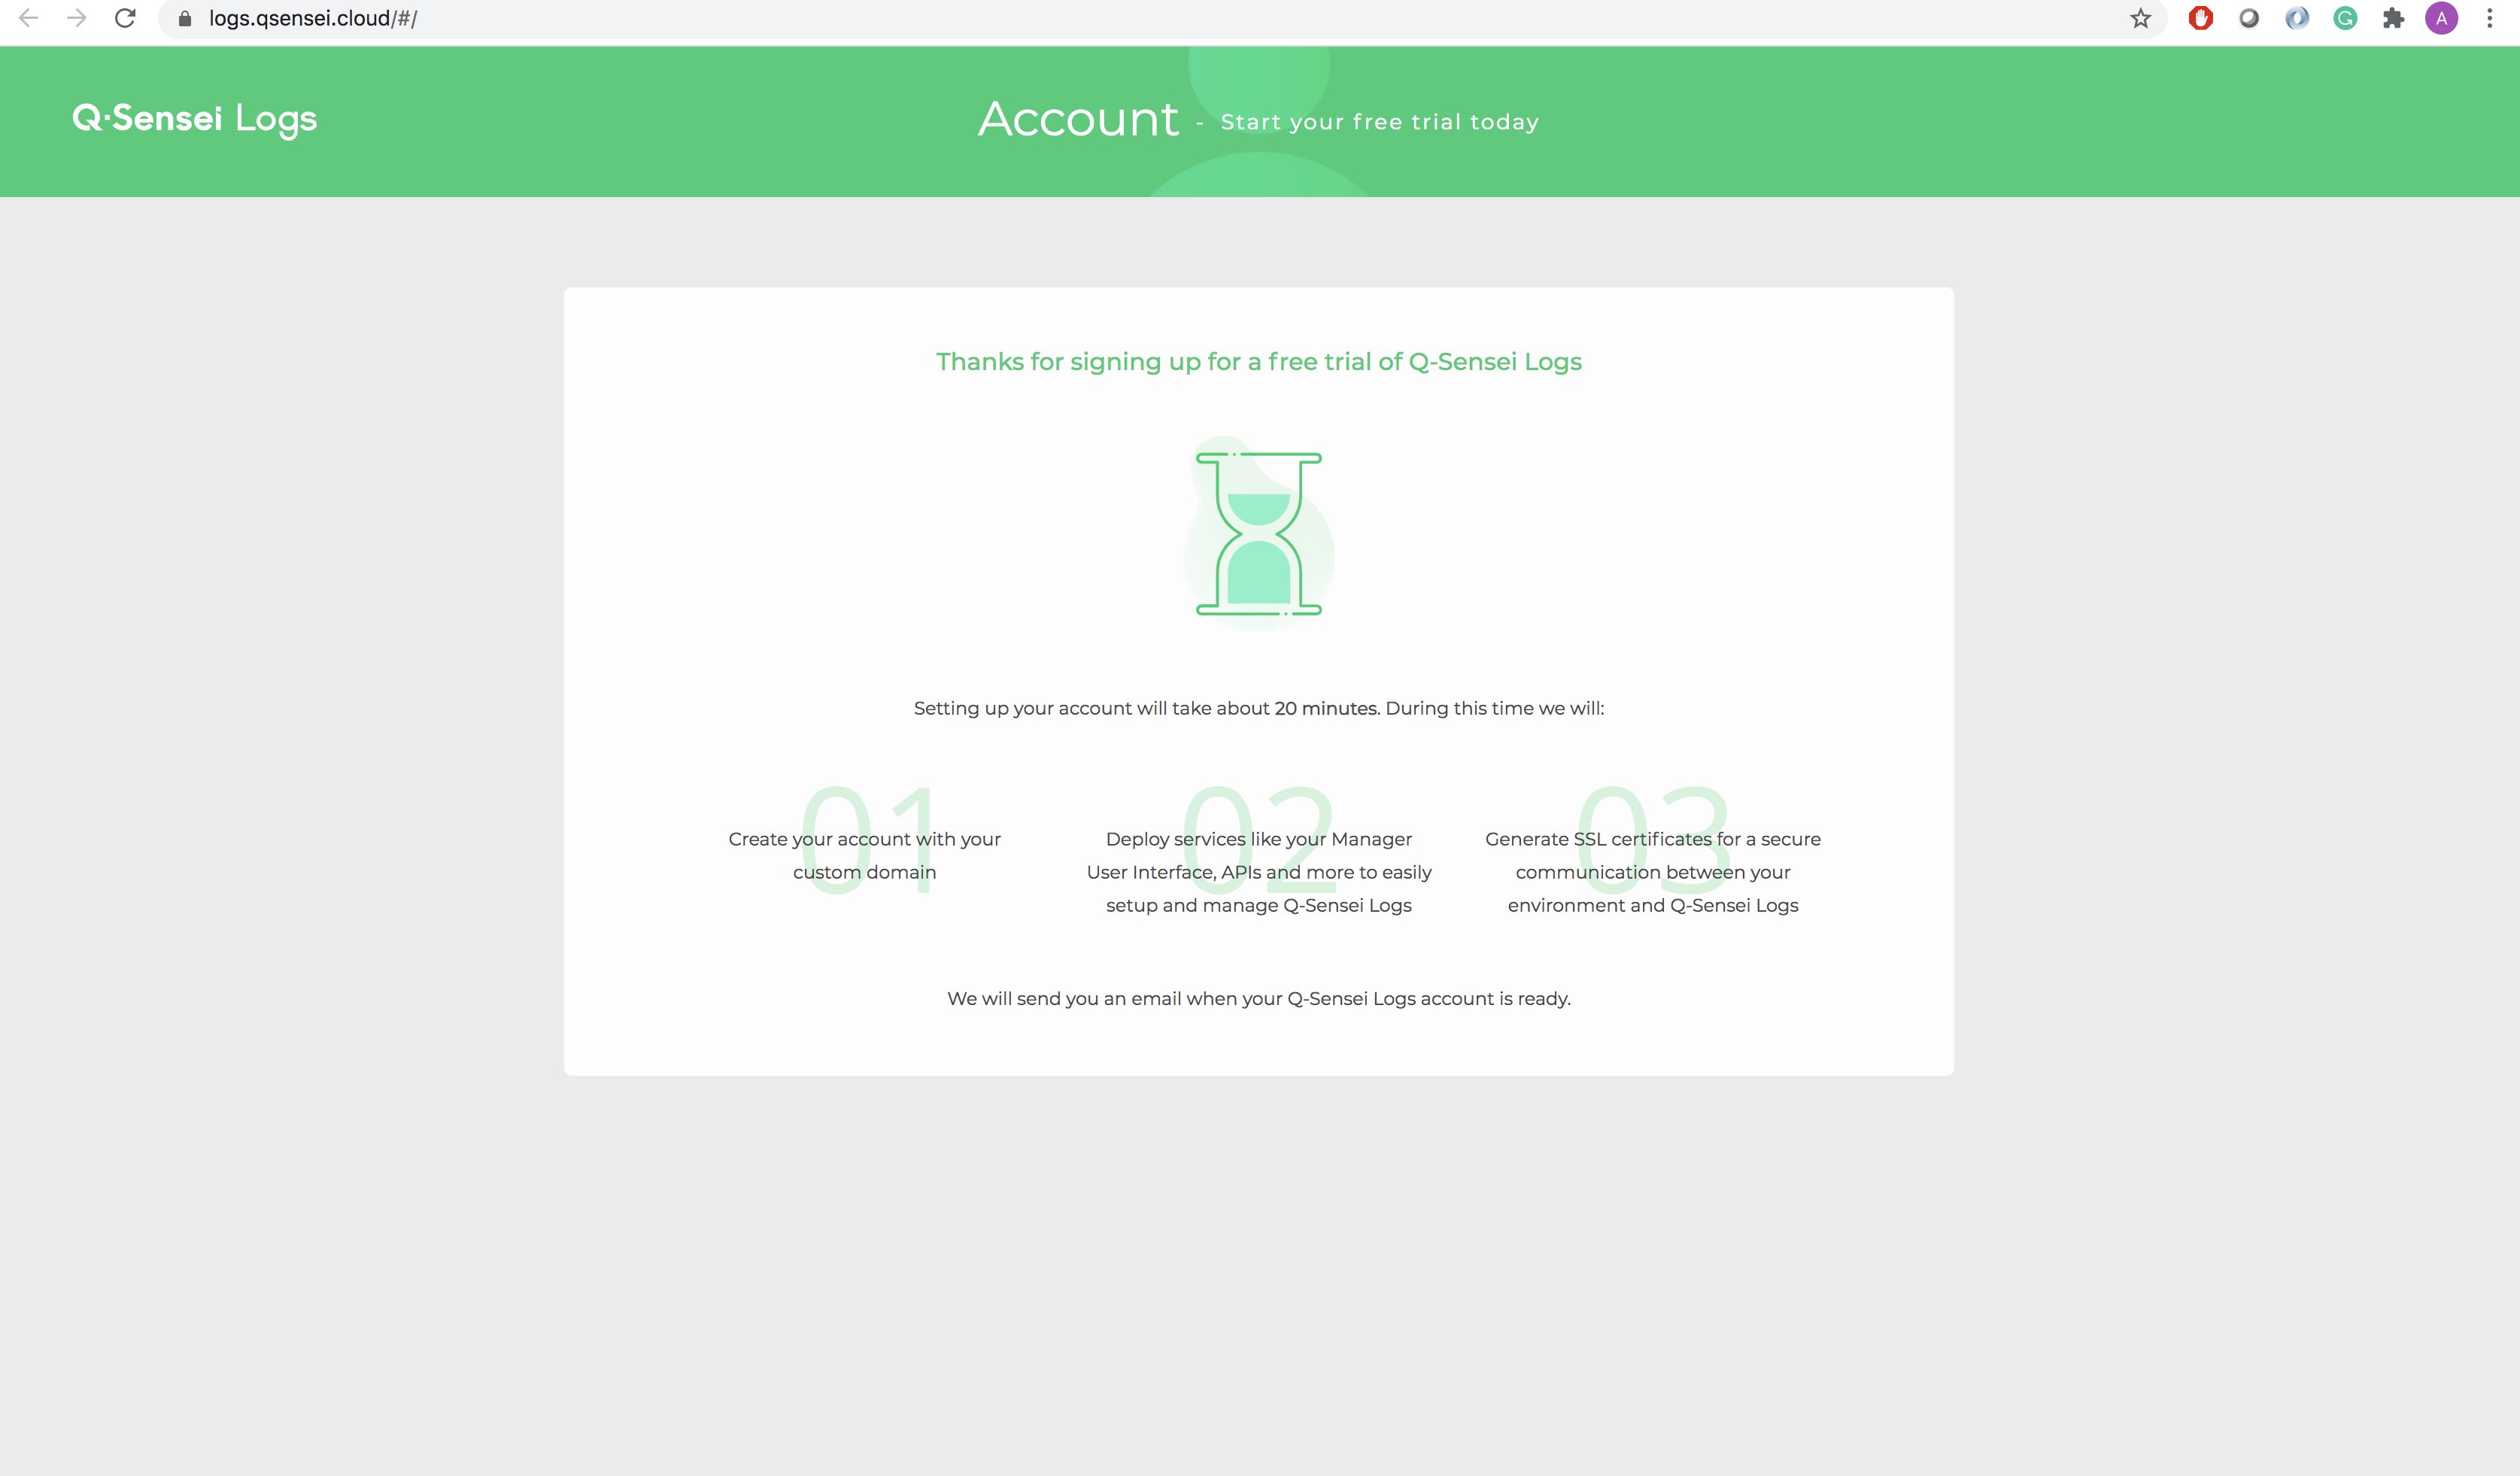
Next, as shown below, you will see the account status page. This page will be shown to you while we are setting up your Q-Sensei Logs account. It can take up to 30 minutes to create your account.
Step 6: Check your inbox for an invitation email from Q-Sensei Logs.
Once the account setup is finished, you will receive an email.
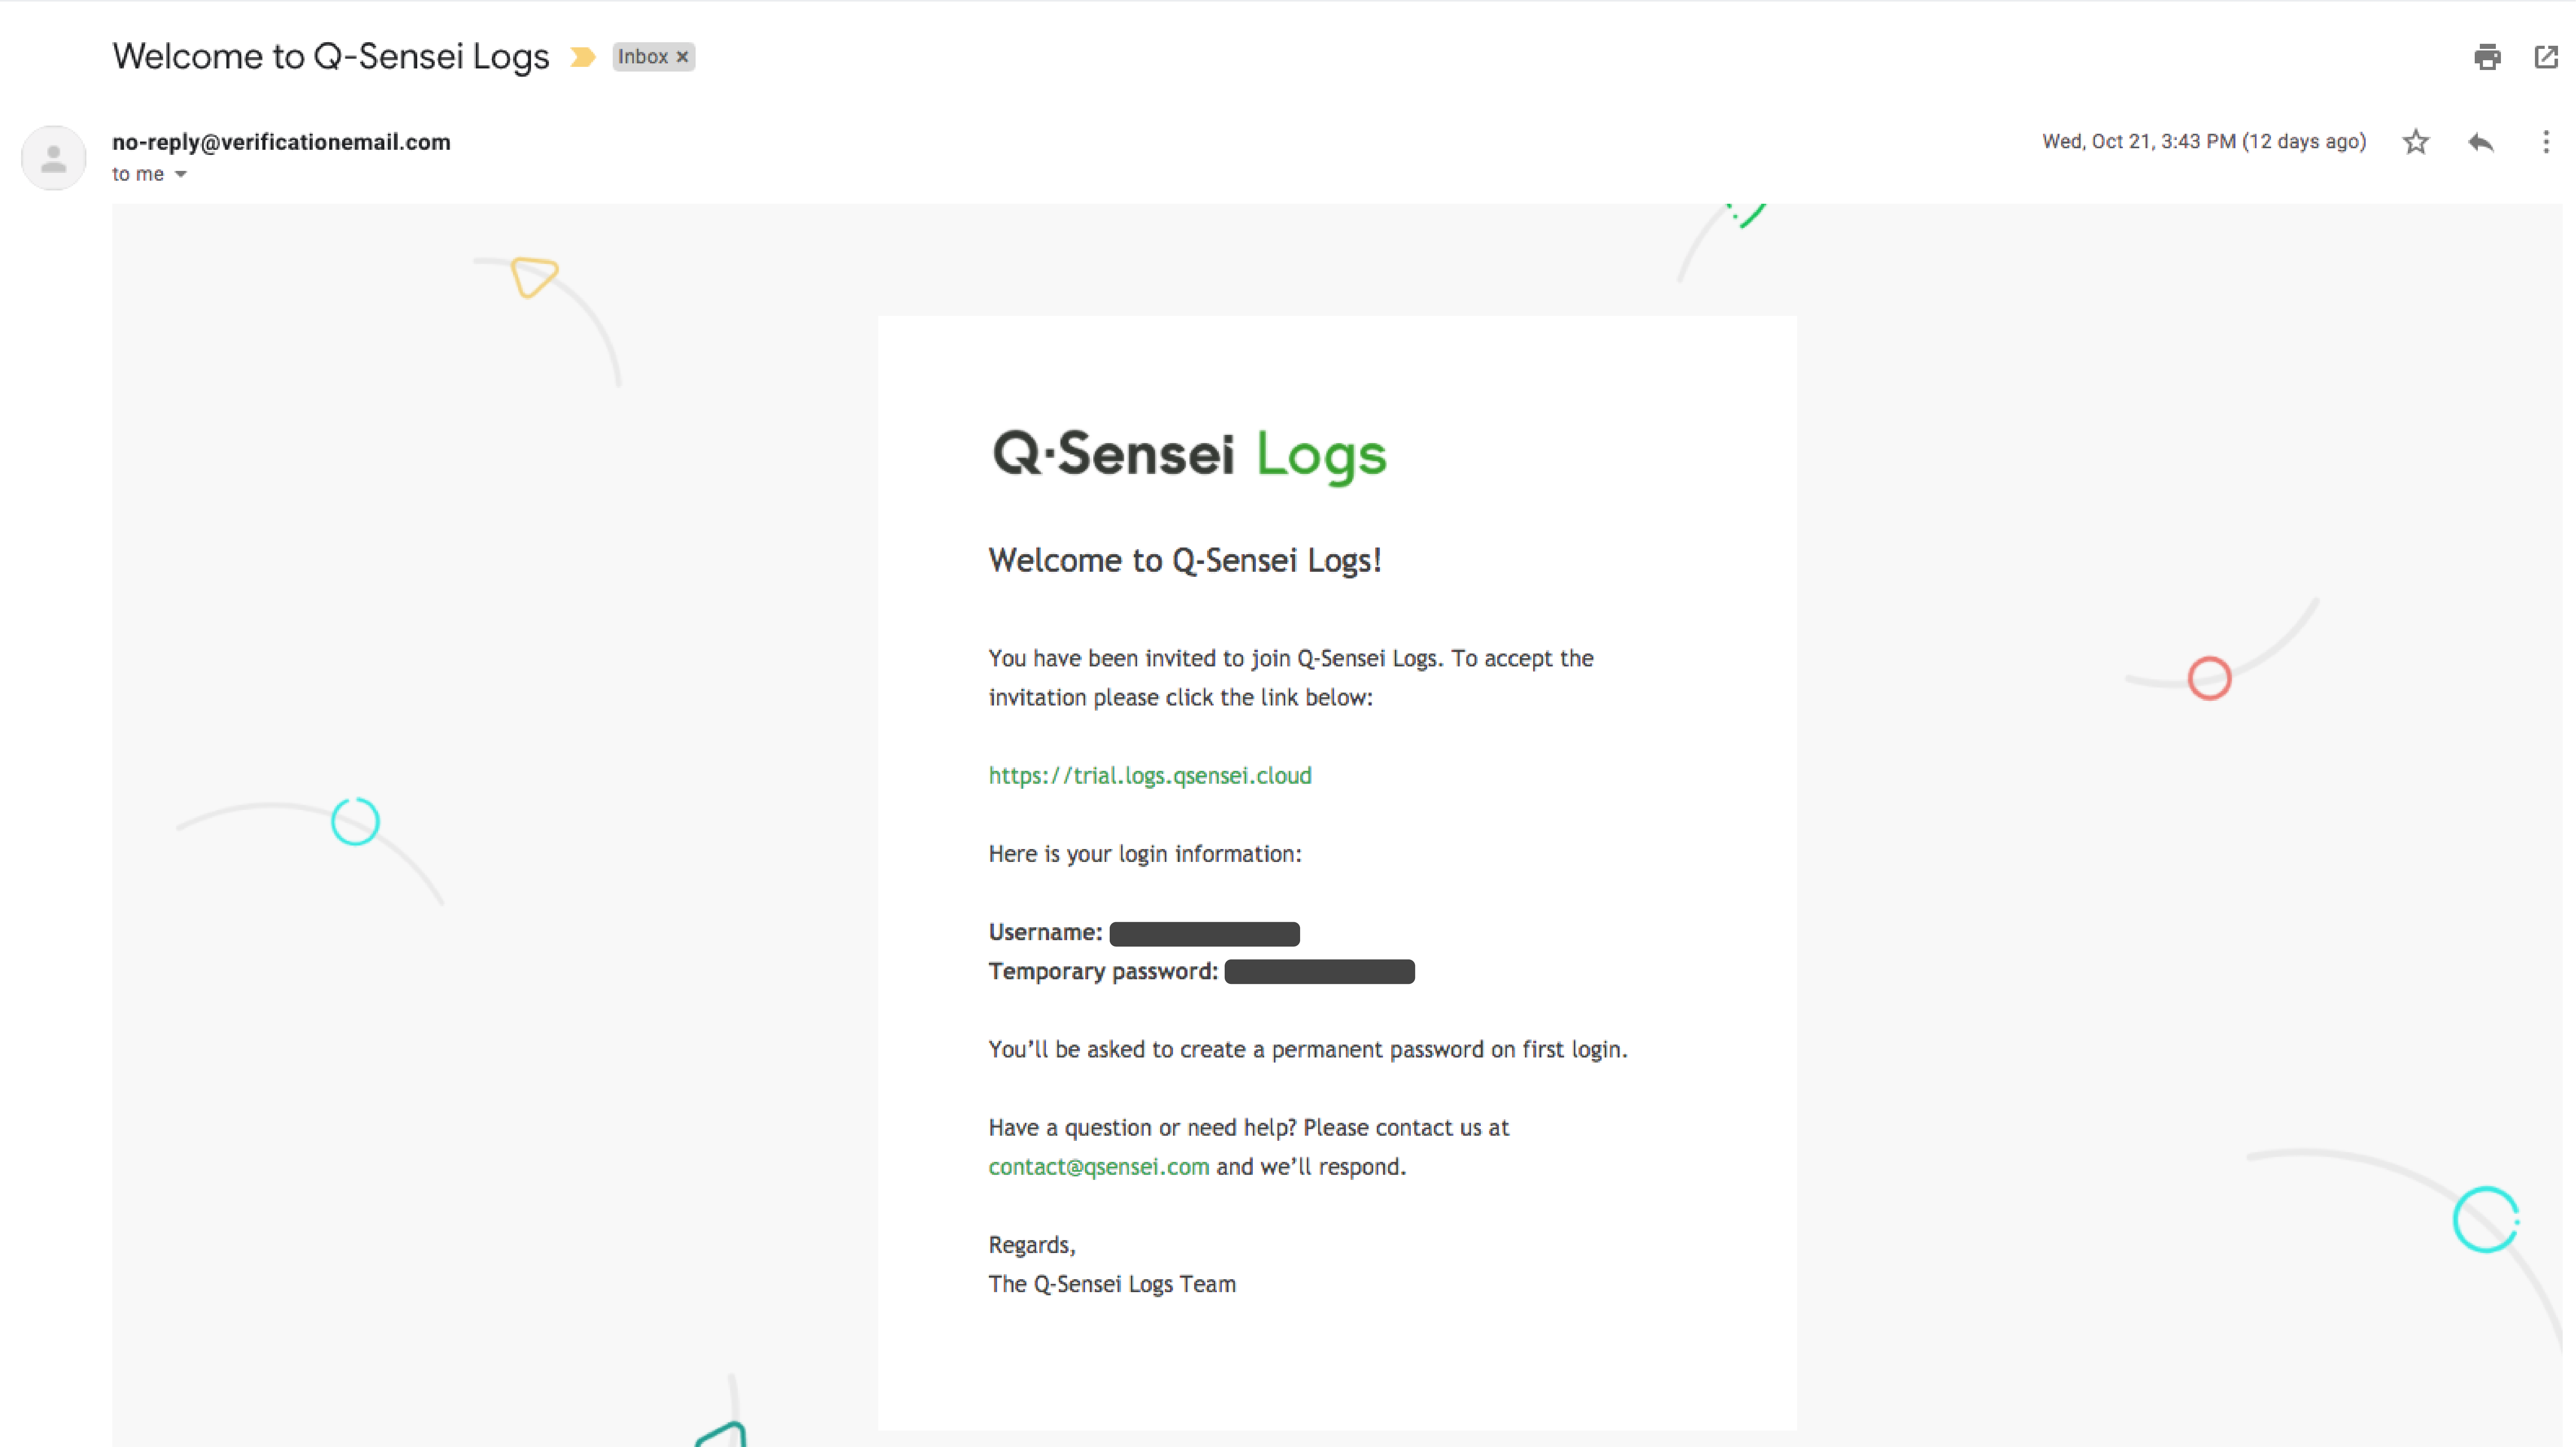
Step 7: Log into your personal domain
Click on the link in the email to change your password and then you can log in to see the Manager UI.
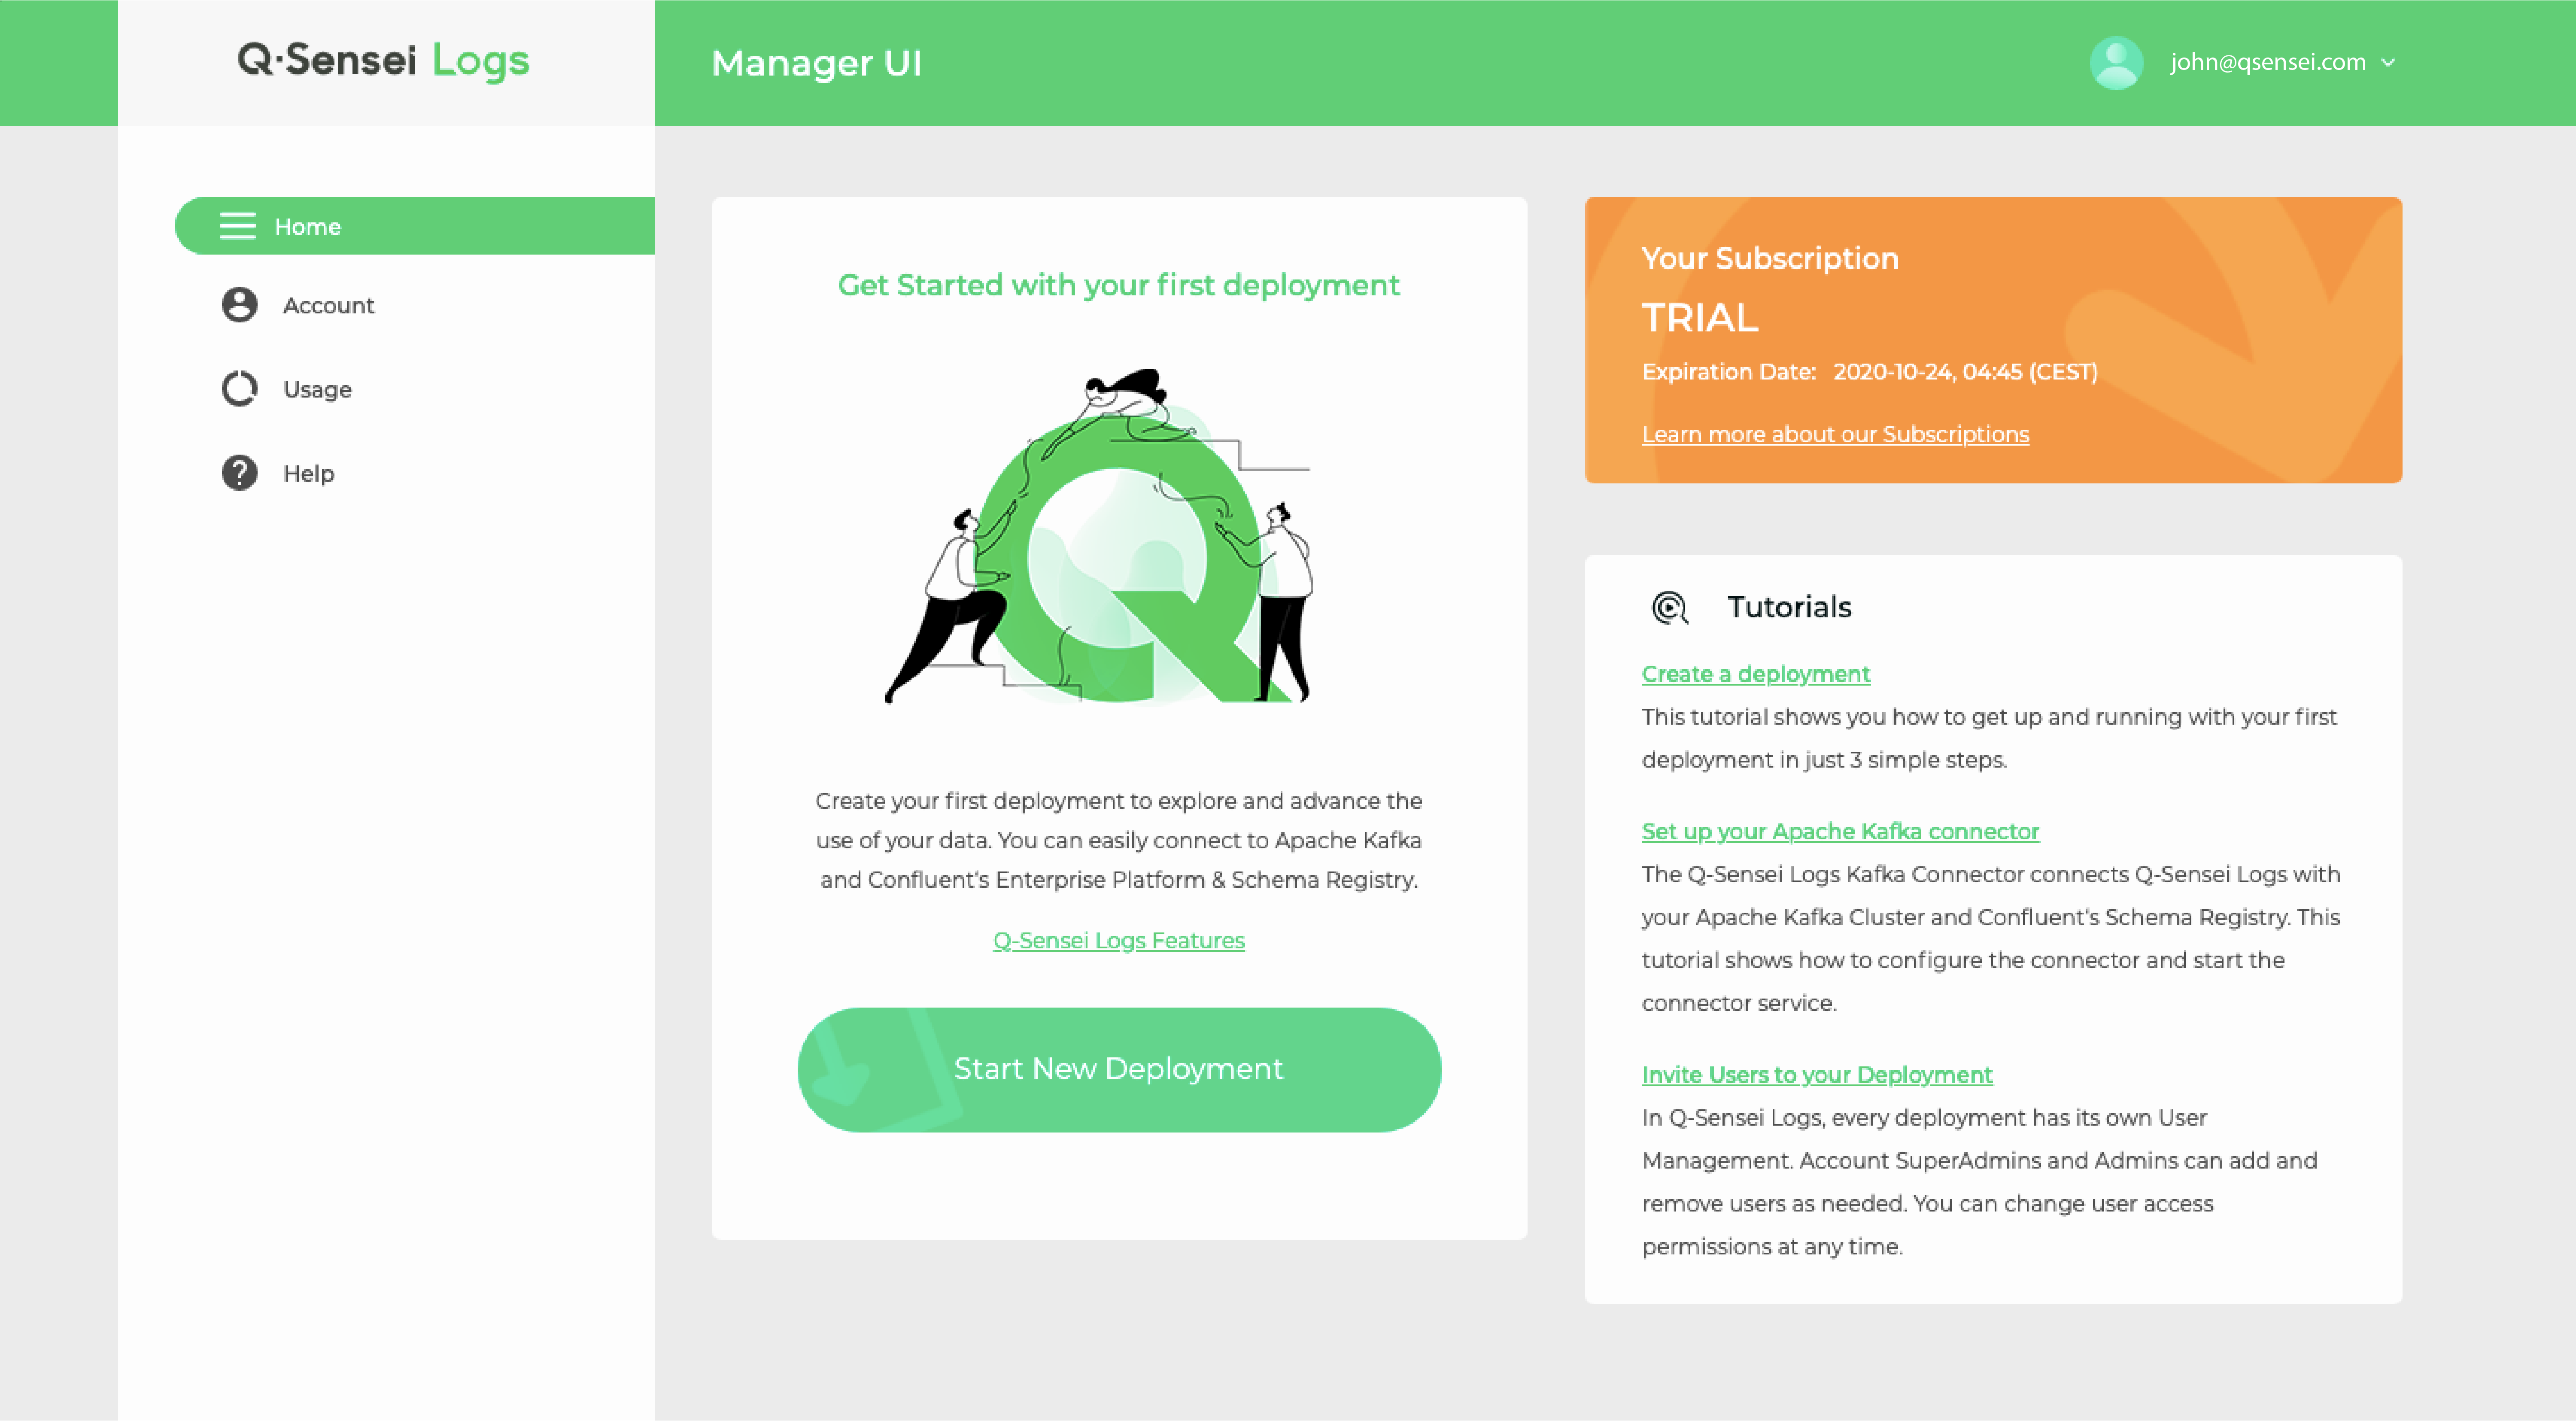
Verify the expiration date and entitled usage.
